In this tutorial I’ll explain how to install and configure RAINLOOP webmail interface with Apache.
- Modern user interface.
- Complete support of IMAP and SMTP protocols including SSL and STARTTLS.
- Sieve scripts (Filters and vacation message).
- Minimalistic resources requirements.
- Direct access to mail server is used (mails are not stored locally on web server).
- Allows for adding multiple accounts to primary one, simultaneous access to different accounts in different browser tabs is supported. Additional identities.
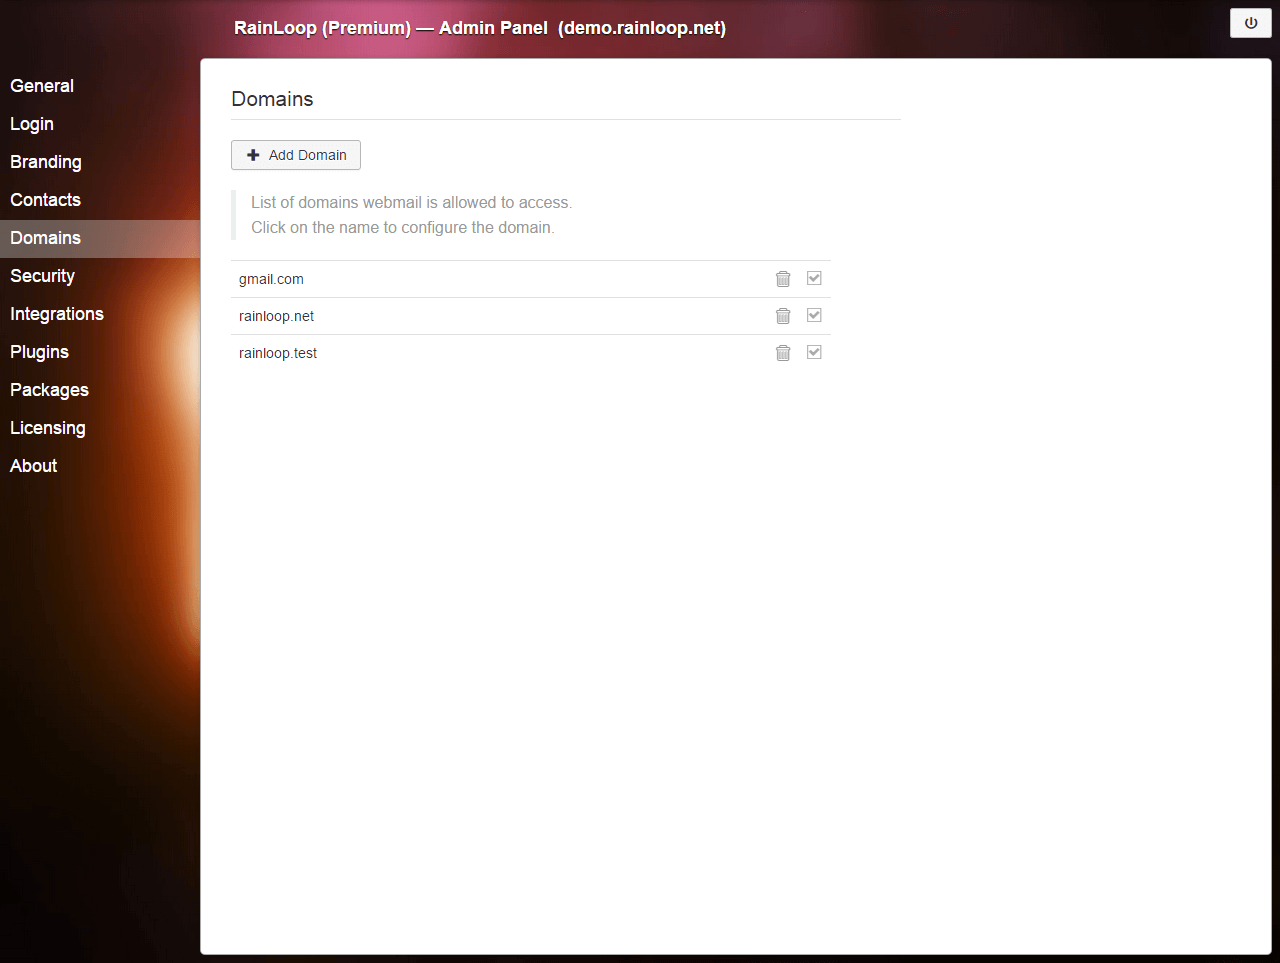
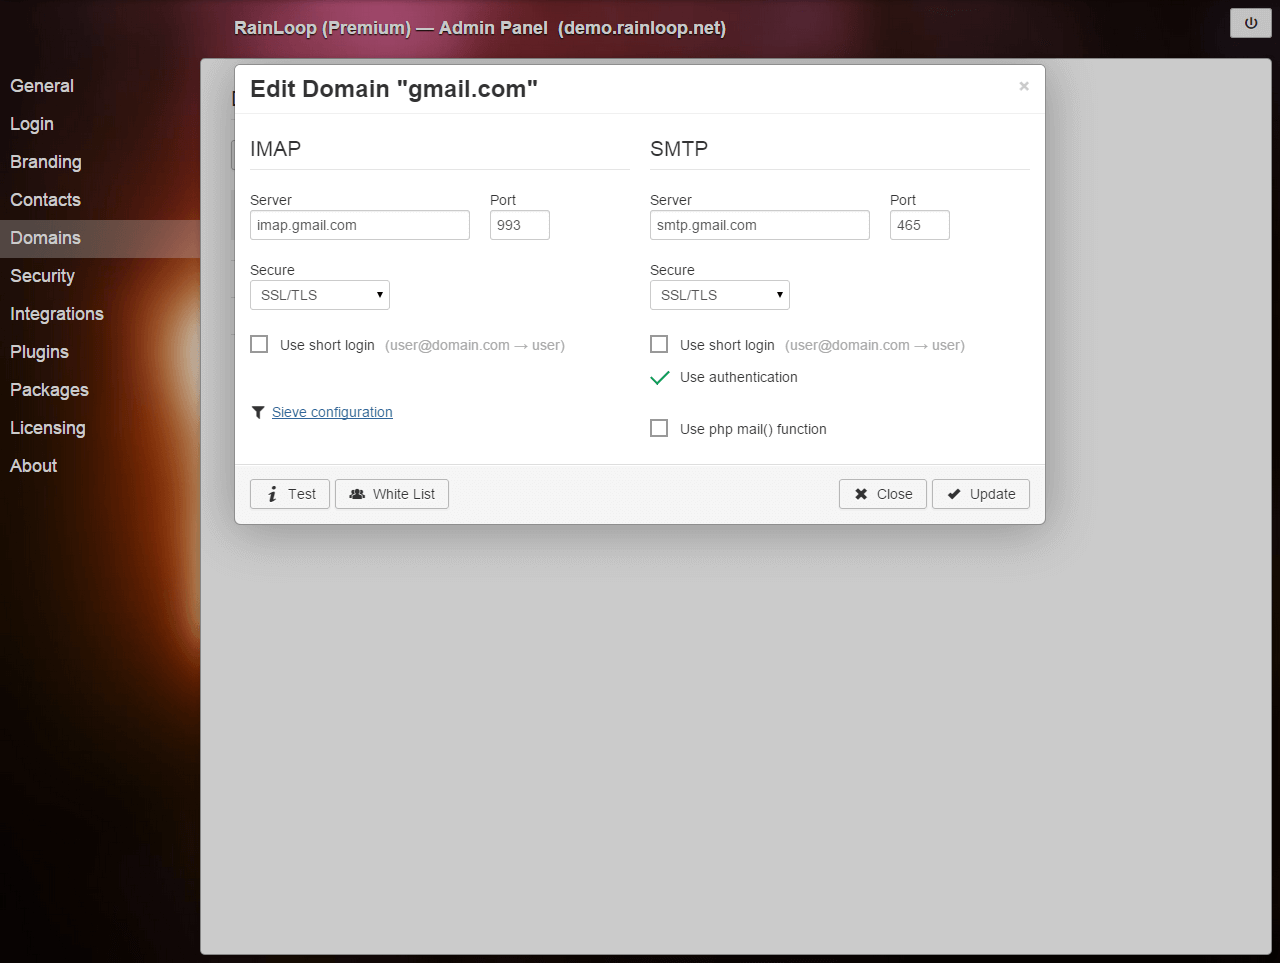
- Administrative panel for configuring main options.
- Really simple installation and update (the product is updated from admin panel).
- Integration with Facebook, Google, Twitter and Dropbox.
- Managing folders list.
- Simple look’n’feel customization.
- Configurable multi-level caching system.
- Extending functionality with plugins installed through admin panel.
- Perfect rendering of complex HTML mails.
- Drag’n’drop for mails and attachments.
- Keyboard shortcuts support.
- Autocompletion of e-mail addresses.
I. Installation
Download the package, extract files from it and upload it to a directory intended for use by the application, for example, /var/www/rainloop, subsequent examples assume you’re using that directory, supply your actual directory path if you use a different one.
mkdir /var/www/rainloop && cd /var/www/rainloopwget https://www.rainloop.net/repository/webmail/rainloop-community-latest.zipunzip rainloop-community-latest.zip
find . -type d -exec chmod 755 {} \;
find . -type f -exec chmod 644 {} \;chown -R www-data:www-data .
Setup a new site with apache with this similar configuration:
<VirtualHost mail.example.com:80>
DocumentRoot /var/www/rainloop

ServerName mail.example.com

ErrorLog "/var/log/rainloop-error_log"
TransferLog "/var/log/rainloop-access_log"

<Directory />
Options +Indexes +FollowSymLinks +ExecCGI
AllowOverride All
Order deny,allow
Allow from all
Require all granted
</Directory>

</VirtualHost>
*Enable module rewrite for Apache, if it’s not enabled.
II. Configuration
To configure the product, use admin panel found at: http://mail.example.com/?admin
1.There are two ways to configure the product – with admin panel, or by modifying application.ini file manually.
Web interface allows for configuring basic options only, and that should suffice in most cases. But when modifying configuration manually, you’ll get access to all configuration options including experimental ones.
To access admin panel, use URL of the following kind: http://mail.example.com/?admin
Default login is “admin”, password is “12345”.
2.Configuration file application.ini is found within directory structure of a special kind, like this:
/var/www/rainloop/data/_data_/_default_/configs/application.ini
_default_ – is a subdirectory in a single domain installation, in case of multiple domain installaton, your web domain is placed instead of “_default_”.
The “application.ini” file is composed using typical structure of INI files, its configuration options are described inline in full.
That’s it, enjoy !!!


